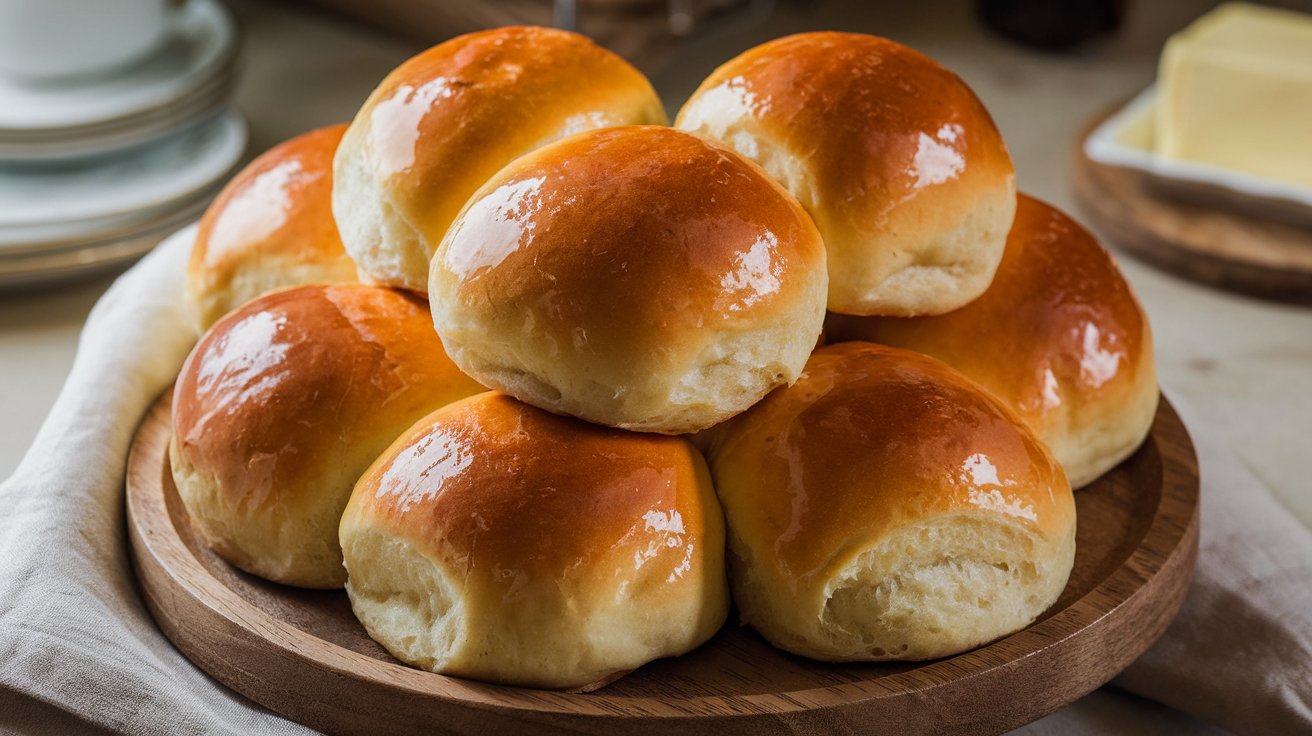
Brioche dinner rolls are a classic type of bread originating from France, characterized by their rich, buttery, and slightly sweet flavor. Known for their tender, pillowy texture, these rolls are a versatile addition to any meal. Whether served as an accompaniment to dinner, used as a base for gourmet sandwiches, or enjoyed on their own as a light snack, brioche dinner rolls bring a touch of elegance and comfort to the table.
Ingredients
What You’ll Need:
For the Dough:
- All-purpose flour – Forms the base of the dough, providing structure.
- Granulated sugar – Adds a touch of sweetness to the rolls.
- Salt – Enhances flavor and balances sweetness.
- Instant yeast – Ensures the dough rises to a fluffy texture.
- Eggs – Adds richness and helps bind the ingredients.
- Unsalted butter (softened) – Contributes to the brioche’s signature buttery taste.
- Warm milk – Activates the yeast and provides moisture for a tender dough.
Optional Toppings:
- Egg wash (beaten egg mixed with water or milk) – Gives the rolls a golden, shiny crust.
- Sesame or poppy seeds – Adds texture and visual appeal to the rolls.
Equipment Needed
Tools for the Job:
- Stand mixer with a dough hook attachment – Makes kneading the rich, buttery dough effortless and efficient.
- Baking sheet or pan – Provides a flat surface for baking the rolls to perfection.
- Parchment paper – Prevents sticking and ensures easy cleanup.
- Measuring cups and spoons – Ensures precise measurements for consistent results.
Preparation Steps
How to Make the Dough:
- Combine dry ingredients – In a large mixing bowl, mix together the flour, sugar, salt, and instant yeast.
- Add wet ingredients – Add the eggs and warm milk to the dry mixture. Mix until the ingredients are just combined.
- Incorporate butter – Gradually add the softened butter, a little at a time, while kneading the dough. Continue kneading until the dough becomes smooth, elastic, and slightly sticky.
Letting the Dough Rise:
- Prepare for rising – Place the dough into a greased bowl, ensuring it’s coated lightly with oil to prevent sticking.
- Cover and wait – Cover the bowl with plastic wrap or a clean kitchen towel and let the dough rise in a warm, draft-free area until it doubles in size, about 1 to 2 hours.
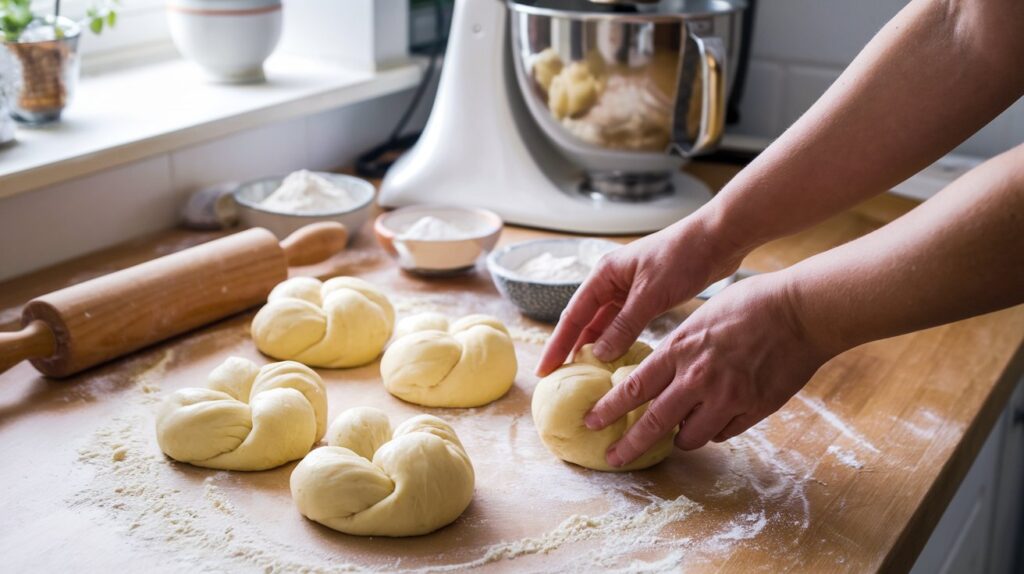
Shaping the Rolls:
- Punch down the dough – Gently deflate the risen dough to remove excess air.
- Divide and shape – Cut the dough into equal portions, and roll each piece into a smooth ball.
- Arrange – Place the dough balls onto a parchment-lined baking sheet, spaced slightly apart.
Final Rise Before Baking:
- Cover and proof – Lay a clean towel over the shaped rolls and let them rise again until they become puffy, about 30 to 45 minutes.
- Preheat oven – While the rolls are rising, preheat the oven to the required baking temperature.
Baking Instructions
Bake to Perfection:
- Preheat the oven – Set your oven to 375°F (190°C) to ensure even baking.
- Brush with egg wash – Gently brush the tops of the risen rolls with egg wash to achieve a glossy, golden finish.
- Bake – Place the baking sheet in the oven and bake for 15-20 minutes, or until the rolls are beautifully golden brown and sound hollow when tapped on the bottom.
- Cool slightly – Allow the rolls to cool on a wire rack before serving. Enjoy their buttery, tender texture fresh out of the oven!
Cooling and Serving
Let Them Cool Before Serving:
- Remove from oven – Carefully take the rolls out of the oven and transfer them to a wire rack.
- Cool slightly – Allow the rolls to cool for a few minutes to set their texture and make them easier to handle.
- Serve or store – Enjoy the rolls warm for the best flavor and texture. If not serving immediately, store them in an airtight container to keep them soft and fresh.
Tips and Variations
Enhance Your Rolls:
Tips for Kneading and Handling Sticky Dough:
- Lightly flour your hands and surface – This helps manage the sticky dough without adding too much extra flour, which can affect the texture.
- Use a stand mixer – If available, let the dough hook do the work for a smooth and elastic dough.
- Be patient – Brioche dough is naturally soft and slightly sticky; avoid over-flouring to preserve its tender texture.
Variations:
- Herbs – Mix in chopped fresh rosemary, thyme, or parsley for an aromatic twist.
- Cheese – Fold in shredded cheddar, Parmesan, or Gruyère for a savory upgrade.
- Spices – Add cinnamon, nutmeg, or cardamom for a subtle warmth, perfect for sweeter rolls.
Storing and Reheating Instructions:
- Storing – Keep rolls in an airtight container at room temperature for up to 2 days or in the refrigerator for up to a week.
- Reheating – Warm rolls in a 300°F (150°C) oven for 5-7 minutes or microwave for 15-20 seconds for that fresh-baked feel.
Conclusion
Why You’ll Love This Recipe:
Brioche dinner rolls are a delightful addition to any meal, elevating special occasions or everyday dinners with their rich flavor and fluffy texture. The process of making these rolls at home is as rewarding as the final result, giving you a sense of accomplishment with every buttery bite. Whether you’re serving them at a family gathering, using them for gourmet sandwiches, or enjoying them as a simple treat, this recipe is sure to become a favorite. Give it a try and experience the magic of homemade brioche!
Explore More Delicious Recipes to Pair with Brioche Dinner Rolls
If you’re excited to bake Brioche Dinner Rolls, you’ll love these recipes to complement your creation:
- Looking for the perfect spread? Try the Pistachio Butter Breakfast Recipe for a nutty and indulgent topping or the Cottage Cheese Breakfast Recipe for a creamy, protein-packed option.
- Need a hearty dinner idea? Pair your rolls with the flavorful Ground Sausage Recipe for Dinner for a satisfying meal.
- Love experimenting with dough? Explore the Crescent Roll Breakfast Recipe for another versatile and delicious baked treat.
These recipes are perfect complements to your brioche rolls and will inspire more delightful meals in your kitchen!
Frequently Asked Questions About Brioche Dinner Rolls
1. Can I make brioche dinner rolls without a stand mixer?
Yes, you can make the dough by hand, but it requires more effort to knead. Be prepared for sticky dough and knead it until smooth and elastic, which can take 10-15 minutes.
2. Can I use active dry yeast instead of instant yeast?
Yes, but you need to activate it first. Dissolve the active dry yeast in warm milk with a pinch of sugar, let it sit for 5-10 minutes until foamy, then proceed with the recipe.
3. How do I store leftover brioche rolls?
Store cooled rolls in an airtight container at room temperature for up to 2 days. For longer storage, freeze them for up to 3 months and reheat before serving.
4. Can I prepare the dough ahead of time?
Yes! After the first rise, you can refrigerate the dough overnight. Bring it to room temperature and let it rise again before shaping and baking.
5. Why is my dough too sticky to handle?
Brioche dough is naturally sticky due to its high butter and egg content. If it’s unmanageable, lightly flour your hands and work surface, but avoid adding too much extra flour, which can make the rolls dense.
6. Can I make mini or larger rolls with this recipe?
Absolutely! Adjust the portion sizes when dividing the dough. For smaller rolls, reduce the baking time, and for larger ones, increase it slightly, watching closely to avoid overbaking.
7. How can I make the rolls sweeter or savory?
For sweeter rolls, increase the sugar slightly or add a touch of honey. For savory rolls, mix in shredded cheese, herbs, or garlic powder.
8. What is the purpose of the egg wash?
The egg wash gives the rolls a shiny, golden crust. It’s optional, but it enhances their appearance and creates a more professional look.
9. How can I tell if the rolls are fully baked?
The rolls are done when they are golden brown on top, and their internal temperature reaches about 190°F (88°C) when measured with a kitchen thermometer.
10. Can I use whole wheat flour instead of all-purpose flour?
You can substitute some of the all-purpose flour with whole wheat flour, but the rolls may be denser. Start with replacing 25-50% and adjust based on your preference.
Brioche Dinner Rolls Recipe – Perfect for Any Occasion
Ingredients
- 3 1/4 cups all-purpose flour
- 1/4 cup granulated sugar
- 1 teaspoon salt
- 1 packet instant yeast
- 3 large eggs
- 1/2 cup unsalted butter (softened)
- 1/2 cup warm milk
- Optional: egg wash, sesame or poppy seeds
Instructions
- Combine dry ingredients in a large mixing bowl.
- Add eggs and warm milk to the dry mixture and mix until just combined.
- Gradually incorporate softened butter while kneading until smooth and elastic.
- Place dough in a greased bowl, cover, and let rise until doubled in size (1-2 hours).
- Punch down the dough, divide into equal portions, and shape into balls.
- Arrange on a parchment-lined baking sheet and let rise again (30-45 minutes).
- Preheat oven to 375°F (190°C).
- Brush tops with egg wash and bake for 15-20 minutes until golden brown.
- Cool on a wire rack before serving.