Last summer, Stephen and I discovered a forgotten ice cream maker tucked away in his grandmother’s garage sale finds. As we dusted it off, I couldn’t help but think about all the dessert dreams it once fulfilled. That’s when I realized this little machine deserved a second chance to create magic—starting with the most perfect coffee ice cream recipe.
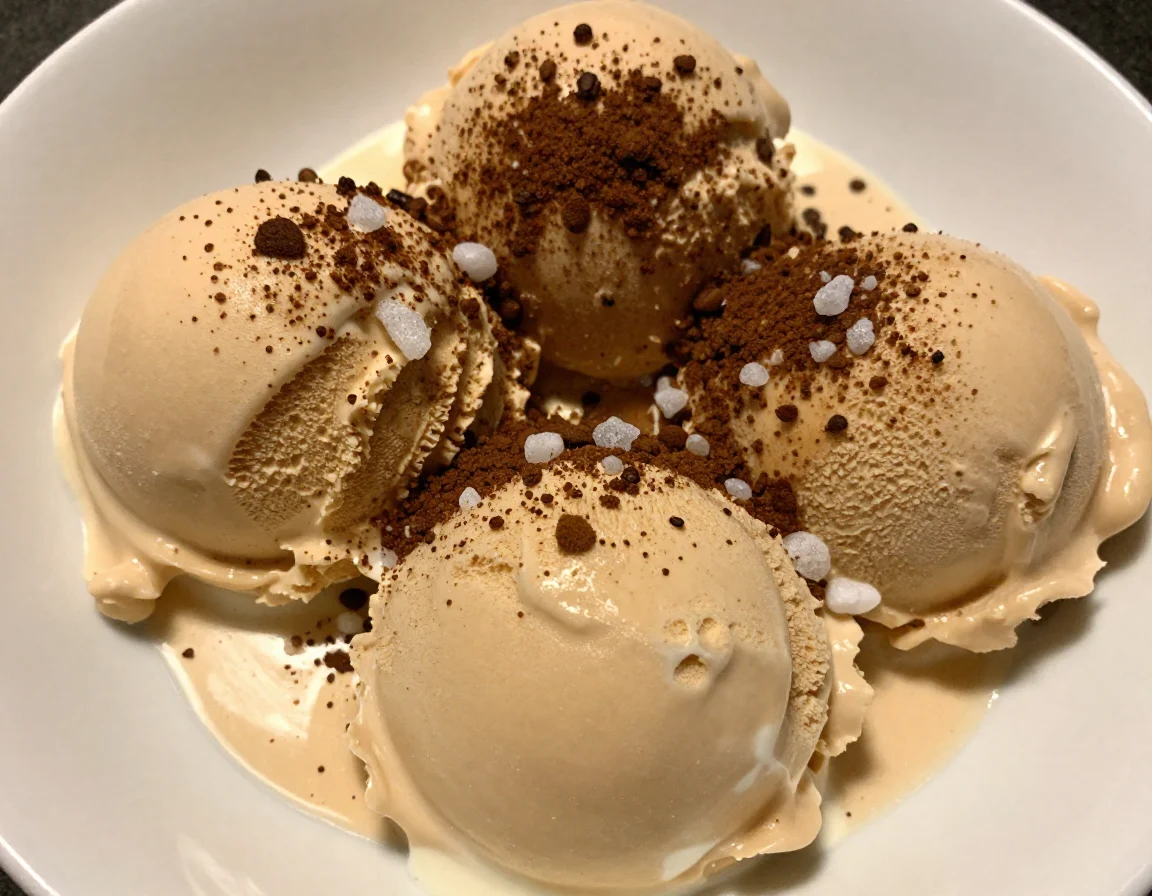
There’s something deeply satisfying about transforming your morning brew into an afternoon treat, and this homemade coffee ice cream captures that beautiful transformation. Unlike store-bought versions loaded with artificial flavors, our recipe celebrates real coffee’s rich, complex notes while delivering that creamy, indulgent texture we all crave. This coffee ice cream proves that giving classic desserts a modern, homemade twist creates something truly special.
Why You’ll Love This Recipe
This coffee ice cream recipe delivers restaurant-quality results without any complicated techniques or hard-to-find ingredients. The secret lies in using freshly brewed coffee that you can customize to your taste preferences—whether you prefer a bold French roast or a smooth medium blend. Unlike many homemade ice cream recipes that require tempering eggs or complex custard bases, this version streamlines the process while maintaining that luxurious, creamy texture.
What makes this coffee ice cream truly special is its versatility. You can adjust the coffee strength, experiment with different roasts, or add exciting mix-ins like chocolate chips or caramel swirls. The recipe scales beautifully for entertaining, and it’s perfect for those who want to control exactly what goes into their dessert. Plus, making your own coffee ice cream costs significantly less than premium store-bought brands while tasting infinitely better.
Ingredients You’ll Need
Creating exceptional coffee ice cream starts with quality ingredients that work together harmoniously. Each component plays a crucial role in achieving that perfect balance of coffee flavor and creamy richness that makes this dessert irresistible.
| Ingredient | Amount | Notes |
|---|---|---|
| Heavy cream | 2 cups | Essential for richness and smooth texture |
| Whole milk | 1 cup | Balances cream for perfect consistency |
| Granulated sugar | 3/4 cup | Sweetens and helps prevent ice crystals |
| Strong brewed coffee | 1 cup | Cooled completely; use your favorite roast |
| Instant espresso powder | 2 tablespoons | Intensifies coffee flavor |
| Pure vanilla extract | 1 teaspoon | Enhances overall flavor profile |
| Salt | 1/4 teaspoon | Balances sweetness and enhances coffee notes |
Substitutions & Variations
This coffee ice cream recipe adapts beautifully to different dietary needs and flavor preferences. For a lighter version, substitute half-and-half for heavy cream, though you’ll sacrifice some richness. Coconut cream works wonderfully for dairy-free coffee ice cream—just use full-fat canned coconut milk and add an extra tablespoon of sugar.
Coffee enthusiasts can experiment with different brewing methods to create unique flavor profiles. Cold brew concentrate produces exceptionally smooth coffee ice cream, while French press coffee adds more robust, full-bodied notes. For chocolate lovers, add 1/4 cup cocoa powder and an extra 2 tablespoons of sugar to create mocha ice cream.
Consider these exciting mix-in options: crushed coffee beans for texture, caramel sauce swirls, mini chocolate chips, or even a splash of coffee liqueur for adult versions. Each variation gives your coffee ice cream a personalized twist that reflects your taste preferences.
If you’re looking to add a fun twist to your coffee ice cream, consider making some Lucky Charms Treats. These delightful treats can provide a playful contrast to the rich flavors of your ice cream, making for a unique dessert experience. Check out the recipe for Lucky Charms Treats.
Step-by-Step Instructions
Making perfect coffee ice cream requires attention to timing and temperature, but the actual process is surprisingly straightforward. Follow these steps carefully for consistently excellent results every time.
Step 1: Brew your coffee using twice the normal strength—about 4 tablespoons of ground coffee per cup of water. Allow the coffee to cool completely to room temperature, then refrigerate until cold. This prevents the ice cream base from warming up when you add the coffee.
Step 2: In a large mixing bowl, whisk together the granulated sugar and instant espresso powder until well combined. The espresso powder should distribute evenly throughout the sugar without any clumps remaining.
Step 3: Gradually add the cold brewed coffee to the sugar mixture, whisking constantly until the sugar completely dissolves. This may take 2-3 minutes of vigorous whisking, but completely dissolved sugar ensures smooth coffee ice cream without any grittiness.
Step 4: Slowly pour in the heavy cream and whole milk, whisking continuously to create a uniform mixture. Add the vanilla extract and salt, then whisk for another 30 seconds to ensure everything incorporates perfectly.
Step 5: Cover the mixture and refrigerate for at least 2 hours, or preferably overnight. This chilling step is crucial—cold mixture churns faster and creates smoother coffee ice cream with better texture.
Step 6: Pour the chilled mixture into your ice cream maker and churn according to manufacturer’s instructions, typically 20-25 minutes. The coffee ice cream should reach a soft-serve consistency when ready.
Step 7: Transfer the churned ice cream to an airtight container and freeze for at least 4 hours for proper scooping consistency. Press plastic wrap directly onto the surface to prevent ice crystals from forming.
Pro Tips for Success
Achieving professional-quality coffee ice cream depends on several key techniques that elevate your homemade version above store-bought alternatives. Temperature control throughout the process makes the biggest difference in final texture and flavor.
Always taste your coffee before adding it to the cream base. The coffee flavor will mellow slightly during freezing, so start with coffee that tastes slightly stronger than your preference. If using espresso powder, dissolve it completely in a small amount of hot water before adding to prevent any bitter lumps in your finished coffee ice cream.
Pre-freeze your storage container for 30 minutes before transferring the churned ice cream. This prevents temperature shock and helps maintain the smooth texture you worked hard to achieve. Additionally, avoid overpacking the ice cream into containers—gentle handling preserves the airy texture created during churning.
For extra-smooth coffee ice cream, strain the mixture through a fine-mesh sieve before churning to remove any undissolved particles. This professional technique ensures silky-smooth texture in every spoonful.
To elevate your coffee ice cream to professional quality, mastering techniques is essential. For a deliciously indulgent pairing, try making Homemade Twix Bites, which complement the coffee flavor beautifully. Find the recipe for Homemade Twix Bites.
Storage & Reheating Tips
Proper storage keeps your homemade coffee ice cream fresh and scoopable for up to two weeks in the freezer. Store the ice cream in an airtight container with plastic wrap pressed directly against the surface to prevent ice crystal formation and freezer burn.
Unlike reheating most dishes, coffee ice cream requires softening techniques for optimal serving. Remove the container from the freezer 10-15 minutes before serving to achieve perfect scooping consistency. Alternatively, microwave individual servings for 10-15 seconds to soften slightly without melting.
For longer storage, divide your coffee ice cream into smaller portions using freezer-safe containers. This allows you to thaw only what you need while keeping the remainder perfectly frozen. Label containers with the date to track freshness—homemade ice cream maintains peak quality for about one month when stored properly.
What to Serve With This Recipe
This rich, creamy coffee ice cream pairs beautifully with desserts that complement rather than compete with its bold flavor profile. Warm brownies or chocolate chip cookies create delightful temperature and texture contrasts that highlight the ice cream’s smooth richness.
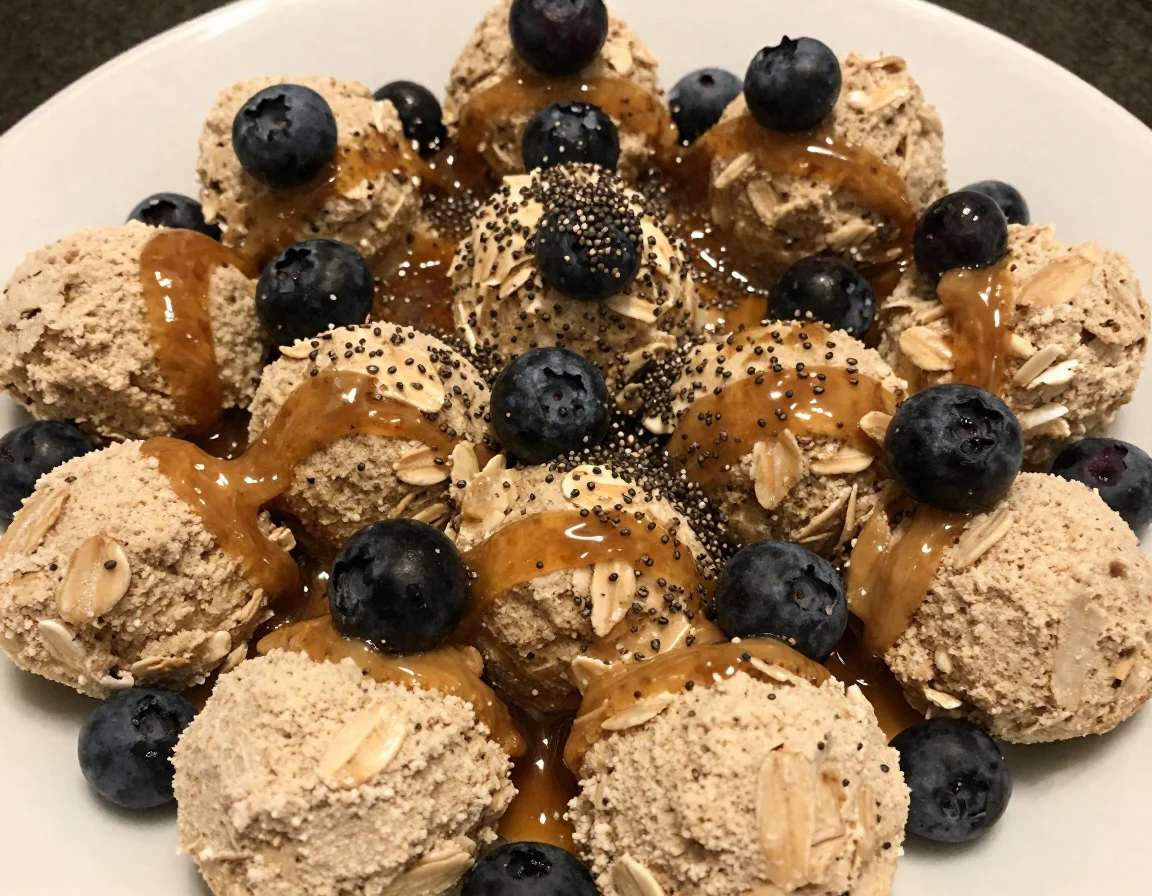
For elegant dinner party presentations, serve coffee ice cream alongside classic tiramisu or chocolate tart. The coffee flavors enhance each other while providing varied textures that keep each bite interesting. Fresh berries add bright acidity that cuts through the richness beautifully.
Consider creating affogato by pouring hot espresso over scoops of your homemade coffee ice cream. This simple Italian dessert showcases the ice cream while creating an interactive dining experience. Alternatively, use the ice cream to make indulgent milkshakes or floats with cold brew coffee.
Pairing your coffee ice cream with desserts that enhance its flavor can create a memorable dining experience. For a delightful combination, consider serving it alongside Cowboy Oatmeal Cookies, which add a wonderful texture contrast. Discover the recipe for Cowboy Oatmeal Cookies.
FAQs
Can I make coffee ice cream without an ice cream maker?
Yes! Pour the mixture into a shallow dish and freeze, stirring vigorously every 30 minutes for the first 3 hours. This manual method creates slightly denser coffee ice cream but still delivers excellent flavor.
How strong should the coffee be for ice cream?
Use coffee about twice as strong as your normal brewing strength. The freezing process mellows the coffee flavor, so starting with stronger coffee ensures the finished coffee ice cream has pronounced coffee taste.
Why is my homemade coffee ice cream icy?
Icy texture usually results from insufficient fat content, too much water in the mixture, or improper storage. Ensure your cream-to-milk ratio stays balanced and store the coffee ice cream with plastic wrap directly touching the surface.
Can I use decaf coffee for this recipe?
Absolutely! Decaffeinated coffee works perfectly in this recipe. Choose a decaf with rich flavor since you’ll still want strong coffee taste in your finished coffee ice cream.
How long does homemade coffee ice cream last?
Properly stored homemade coffee ice cream maintains best quality for 1-2 weeks in the freezer. After that, it’s still safe to eat but may develop ice crystals that affect texture.
Coffee ice cream is a beloved dessert that combines the rich flavors of coffee with the creamy texture of ice cream, making it a favorite among dessert enthusiasts. This delightful treat can be made at home using simple ingredients and offers endless possibilities for customization, such as adding mix-ins or varying the coffee strength, as detailed in this ice cream article.
Nutrition Information (per serving)
| Nutrient | Amount (1/2 cup serving) |
|---|---|
| Calories | 245 |
| Total Fat | 18g |
| Saturated Fat | 11g |
| Cholesterol | 65mg |
| Sodium | 85mg |
| Total Carbohydrates | 18g |
| Sugars | 17g |
| Protein | 3g |
| Caffeine | 25mg |
This homemade coffee ice cream proves that giving classic desserts a second chance in your own kitchen creates something truly special. The combination of real coffee flavors, creamy texture, and endless customization possibilities makes this recipe a worthy addition to your dessert repertoire. Whether you’re treating yourself after dinner or impressing guests at your next gathering, this coffee ice cream delivers the perfect balance of indulgence and homemade charm that store-bought versions simply can’t match.
Coffee Ice Cream
Ingredients
- 2 cups heavy cream
- 1 cup whole milk
- 3/4 cup granulated sugar
- 1 cup strong brewed coffee, cooled completely
- 2 tablespoons instant espresso powder
- 1 teaspoon pure vanilla extract
- 1/4 teaspoon salt
Instructions
- Brew your coffee using twice the normal strength and allow it to cool completely.
- In a large mixing bowl, whisk together the granulated sugar and instant espresso powder until well combined.
- Gradually add the cold brewed coffee to the sugar mixture, whisking constantly until the sugar completely dissolves.
- Slowly pour in the heavy cream and whole milk, whisking continuously to create a uniform mixture. Add the vanilla extract and salt, then whisk for another 30 seconds.
- Cover the mixture and refrigerate for at least 2 hours, or preferably overnight.
- Pour the chilled mixture into your ice cream maker and churn according to manufacturer's instructions, typically 20-25 minutes.
- Transfer the churned ice cream to an airtight container and freeze for at least 4 hours for proper scooping consistency.